01
Create a card for Namecheap in Halocard
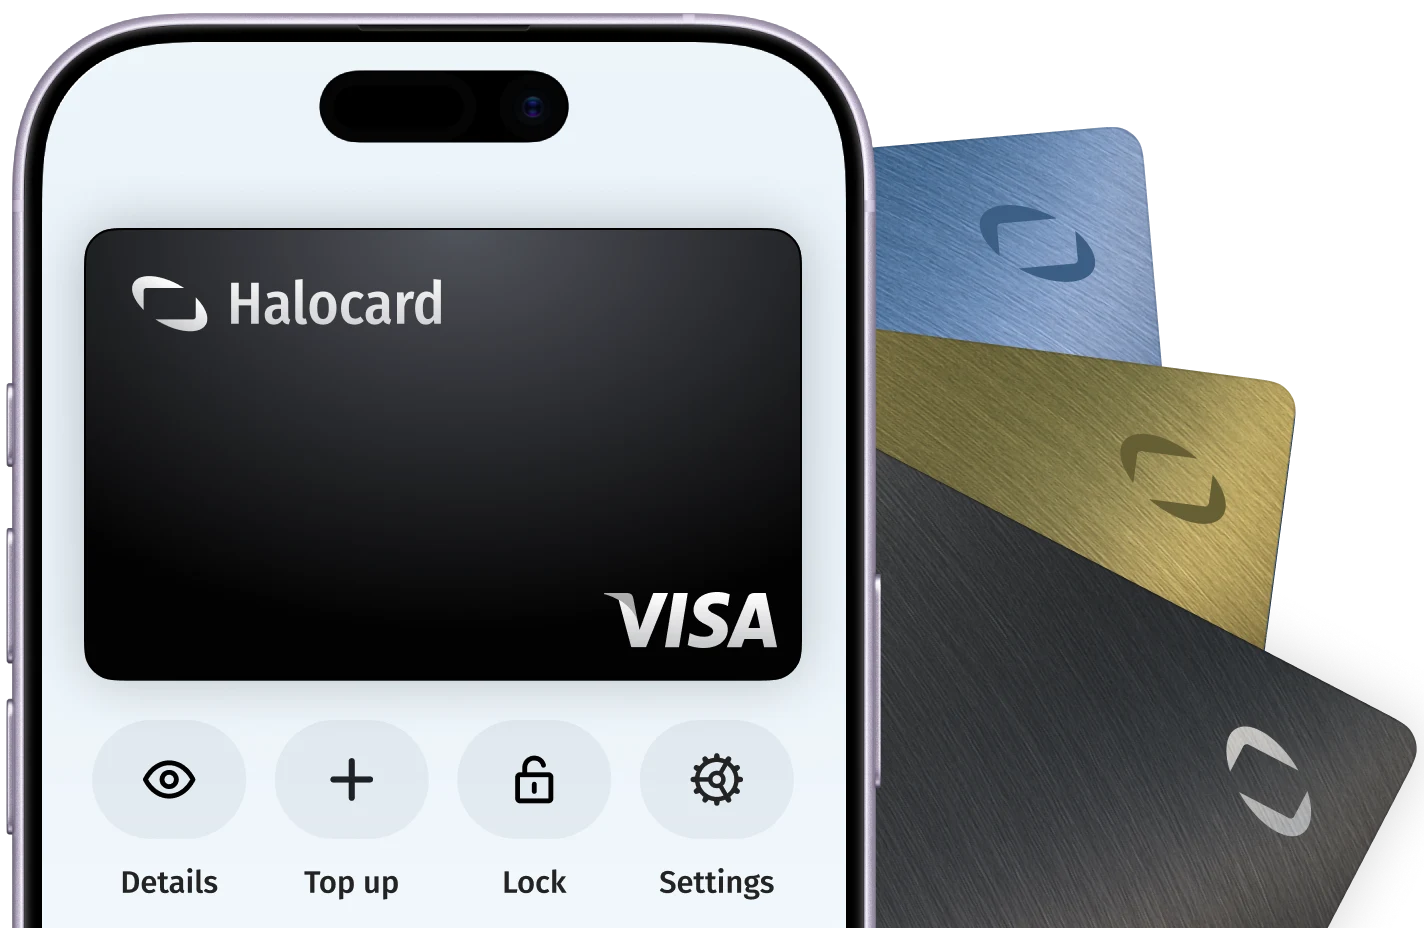
In your Halocard dashboard, create a new card, name it Namecheap and set a limit that covers what you are about to pay.

AcceptedHalocard is accepted
Halocard is accepted at Namecheap. Namecheap accepts Visa, Mastercard, American Express, Discover, Diners Club, JCB and UnionPay, including prepaid and virtual cards, plus PayPal and cryptocurrency through account funds. Automatic renewals charge only a saved card or your account balance, so tick Use for auto-renewal on the card you want billed.
NAME-CHEAP.COM*XXXXXXNAME-CHEAP.COM7372Computer programming, data processing and integrated systems design01
In your Halocard dashboard, create a new card, name it Namecheap and set a limit that covers what you are about to pay.
02
Sign in at namecheap.com. In the left sidebar open Profile, then Billing. In the Payment section click Add New next to Payment Cards, fill in the card details and click Save Changes.
03
Go to Profile, Billing, Payment Cards, Manage. Click the arrow next to Edit, choose Edit Defaults, tick Use for auto-renewal and click Save Changes.
04
Open Domain List in the left sidebar, click Manage next to the domain and toggle Auto-Renew for the domain and Domain Privacy. For hosting, use Hosting List instead.
05
On the Dashboard click Top-up (or Profile, Billing, Balance, Top-up). Choose Card Payment, enter the amount, then the card details and billing address, and click Charge and Proceed. Orders and renewals can then use the balance.
Namecheap is an ICANN-accredited domain registrar and web hosting company founded in 2000 and based in Phoenix, Arizona. It sells domain names, shared hosting, managed WordPress through EasyWP, SSL certificates and Private Email to individuals and businesses, and manages more than 24 million domains.